1st Gen CRX Battery Relocation
In preparation for the DOHC engine swap, I wanted to move
my CRX's battery to the back of the car. It would free up
some much needed space in the engine bay. Having a friend who
works at Monster Cable made this project a lot easier. I used
4 gauge wire for the battery cables. The Monster Cable was extremely
easy to work with. It was thick, but still flexible and the copper
strands were soft, easy to bend, and easy on the fingers.
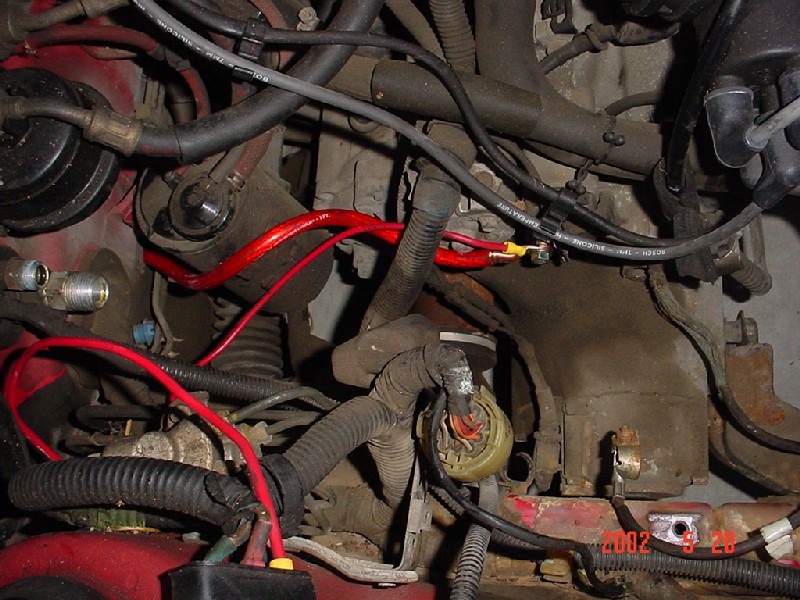
After putting the battery in the truck and running the 12v cable
to the engine bay, I put a copper lug on the end of the cable to
connect it to the starter. I ran the cable through the grommet for
the A/C motor's drain hose. I removed the A/C system and this hole
was the perfect size. I got the connector for the end of the 12v wire
at Napa Auto Parts and it fit perfect. The second wire pictured is the
8 gauge 12v wire to the fuse panel. This wire used to go from the fuse
panel to battery, but now it goes from the fuse panel to the starter since
that is where the 12v source enters the engine bay.
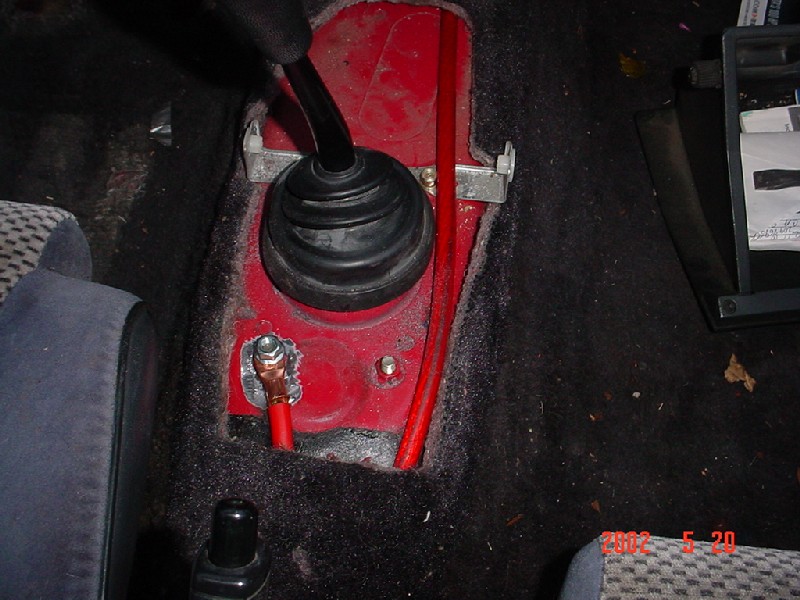
The ground wire is solid red (hey, it was free...I wasn't gonna be picky
and ask for black!) and I connected to the chassis near the shifter. I
used my air grinder to clean the paint off there to ensure good contact.
It's not terribly pretty, but it will be covered by the console anyway.
The wire is terminated with the same copper lug that was used for the starter.
Here is the battery in the trunk. NOTE: This battery is not a sealed-gel
type, so this configuration is not safe. It is only temporary. I plan on
getting an Optima or DynaBatt battery that is a sealed-gel battery so that
venting will not be required. The cables are a little on the long side
because I wanted to be able to move the battery to a different location
in case I change my mind. The flash made the cables look the same color,
but they actually are not. The positive cable (towards the bottom of the
picture) is a transparent red and the ground cable is a solid red.

That's it!