The final cleaning tools consist of a bucket of very hot water, a bottle of 409 and a new toilet cleaning brush. Do not use an old one or it will do a shitty job (literally).

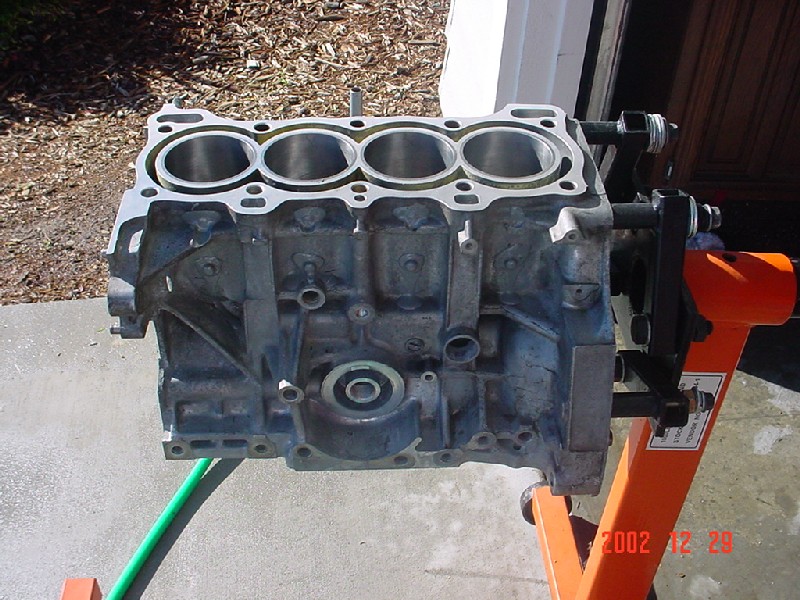
The bores are squeaky clean. This picture shows where the iron liner and aluminum casting meet. After dumping hot water on everything, I dried everything off with a clean terry cloth and put oil in the bores. They will rust extremely fast if left to air dry!

For this process, I decided not to go cheap. The Snap On ring compressor and ring expander tools were $50 for the pair, but the piece of mind they offer is priceless. Although the $7 ring compressor from Sears will probably work, the Snap On stuff is extremely easy to use. The ring compressor has a ratcheting mechanism that auto-locks so that you do not always have to squeeze the pliers.

Here's a pic of the number 3 piston going in. Assuming that 12 o'clock is at the top of the intake side of the piston, I put the upper compression ring at 1 o'clock, the lower compression ring at 11 o'clock, the upper oil control ring at 8 o'clock, the oil mesh ring at 7:30, and the lower oil control ring at 7 o'clock. These were the recommended positions from both Larry at Endyn (these are Endyn/Wiseco pistons and rings) and from the Helms manual.

All the pistons are in after a little bit of effort and some swearing. :-)

This is why I was swearing. I snagged my finger pretty hard on the edge of the ring compressor as the piston went into the cylinder. Oh well, no pain, no gain...

After the pistons were in, I laid duct tape across each bore (I didn't want to chance the piston falling onto the floor when I flipped the block over) and turned the block over. The ring tension kept the pistons from moving on their own. Here we are after the upper main bearings, thrustwashers, and crankshaft have been installed.
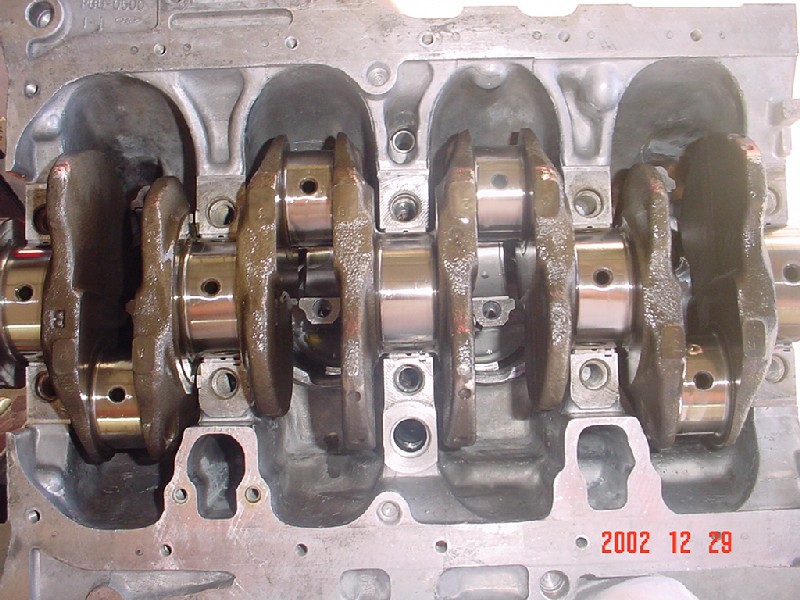
All of the rod bolts were torqued to 28 ft-lbs with ARP assembly lube. I did the tightening in 4 steps...7, 14, 21, and then 28. I spun the crank around by hand to make sure that none of the rod bearings were binding up. I opted to use engine oil on all of the bearings. There are some trick assembly lubes out there, but I've never had trouble assembling things using the lubricant that they will "see" when the engine/gearbox is running. This is a tip that I got from a bad ass machinist buddy of mine.

The main cap girdle was thoroughly cleaned before installing the lower main bearings. I used standard sized ACL Duraglide main bearings, rod bearings, and thrustwashers. See the main page for information about main bearing and rod bearing clearances using ACL bearings in my engine.

The girdle bolts were torqued to 40ft-lbs (factory spec) in 10 ft-lb increments. After each tightening sequence, I used a wrench on the crank pulley bolt (right side of picture) to spin the crank and make sure that there was no crank bind. Each bolt's head and threads were dipped in engine oil (the bolts were all thoroughly cleaned before assembly) so that a proper torque setting could be applied.

With all the time and money invested in this engine, it would be foolish to overlook the oil pump! I could have rebuilt the original pump for about $35, but a brand new pump from Acura was $100.

This is the end of the road...for now. Next time, I'll install the modified oil pan (it has a turbo oil return line), the rear main seal, the ARP head studs, and the cylinder head. Until then, a giant trash bag covers the engine to keep all of the dirt out.
