D16A1 engine swap, part 1
Overview
Although the CRX Si's stock engine (EW3 aka D15A3) is a strong little
performer, it's performance potential is rather limited. Scarce availability
of strong aftermarket parts and its ignition system are the primary reasons.
A very easy install for the 1st gen CRX Si is the D16A1 engine out of the 86-87 Integra. This engine essentially drops right in with no changes to the wiring and instantly gives you another 20 hp in addition to a larger selection of aftermarket parts.
The D16A1 underwent some significant changes for the 88-89 Integra. The 88-89 D16A1 is a much more "modern" engine than the 86-87 D16A1. Engine output was bumped up from 113hp to 118hp, but the 88-89 D16A1 possesses a key feature that makes it much more easy to control: electronic ignition advance. In addition to switching to electronic ignition advance (from vacuum advance), the 88-89 D16A1 also uses sensors such as the ELD (electrical load detector), VSS (Vehicle Speed Sensor), and Crank Position Sensor. Electronic advance and the listed sensors are required in order to use the Hondata engine management system. Since I already own Hondata (from my previous car), it makes sense to put myself in a position to be able to use it again. Hondata makes turbocharging a car much simpler and safer since it can easily control huge fuel injectors and gives complete control over the ECU's fuel and timing maps.
Before any of that though, the old engine had to come out...
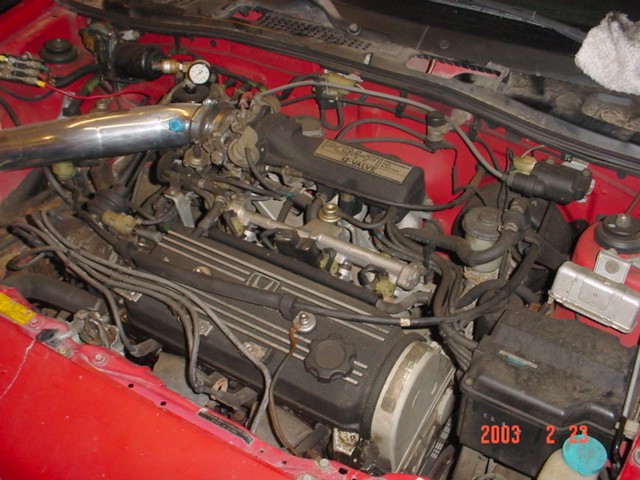
Here's the trusty old engine after roughly 195,000 miles of service. That may
sound like a lot, but this engine still ran like a champ. 91hp may not sound like a lot (it isn't), but in car that is as light as a CRX, it made for a very fun drive.
The easiest way to gain access to stuff and not break anything is to simply remove it. I removed the front bumper, front quarter panels, front nose piece, and the radiator.

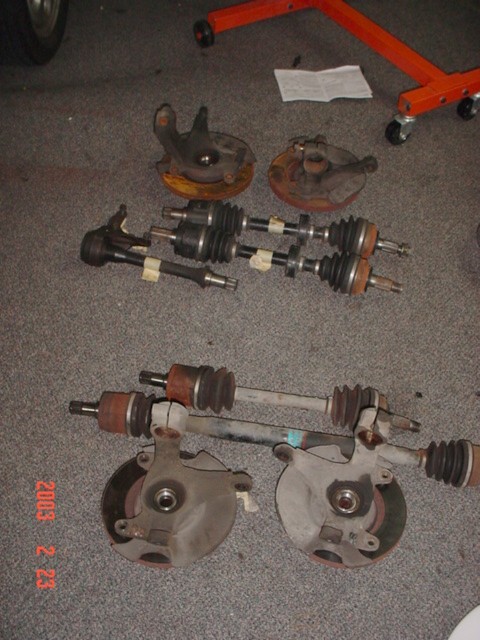
Next were the steering knuckles/hubs and the axles. The top picture
shows the Integra's bitchin' equal-length axle setup that are 28mm thick.
The CRX axles were 25mm thick (the long CRX axle was not an original axle). The Integra brakes are also 1/2" larger.
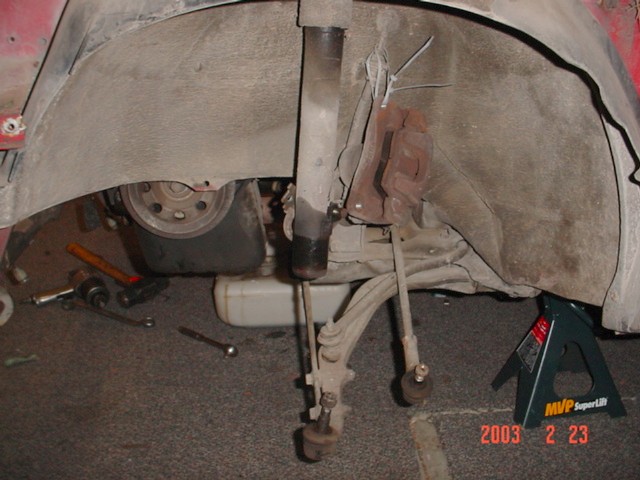
Look, ma, no spring! The 1st Gen CRX made use of torsion bars instead of
springs. The stock shocks would be replaced by a set of Koni "reds" that I
got cheap from a good buddy of mine.
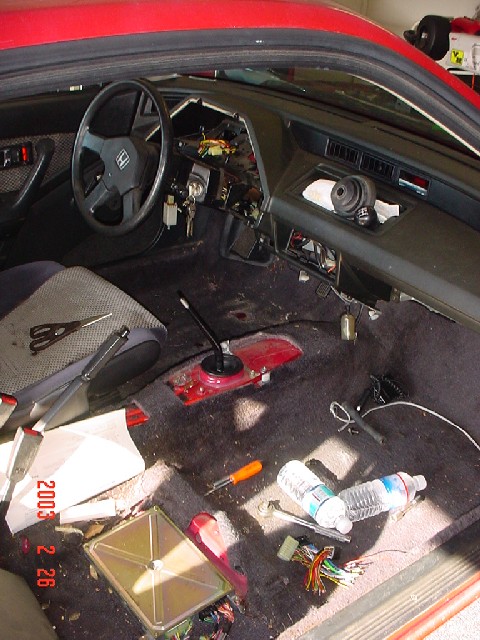
Here's what the interior looked like. The gauge cluster had to come out
so that I could get access to the speedometer cable. The cable was stuck in
the transmission, so I opted to disconnect the cable from the speedometer, push it through the firewall, and remove everything with the cable still attached. I also need to install the CRX HF gauge cluster since it has VSS capability (see the article on the Main Page).
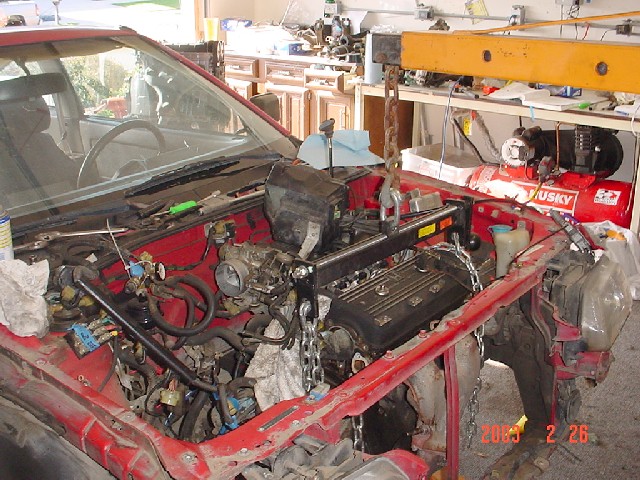
The powerplant is almost ready to come out. The blue tape is masking tape
that I used to label all of the engine harness' connectors.
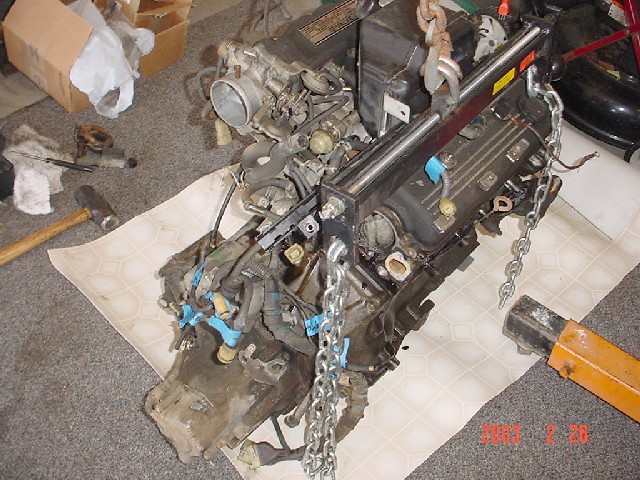
Here it is on the floor. It came out pretty easy once everything
was disconnected.
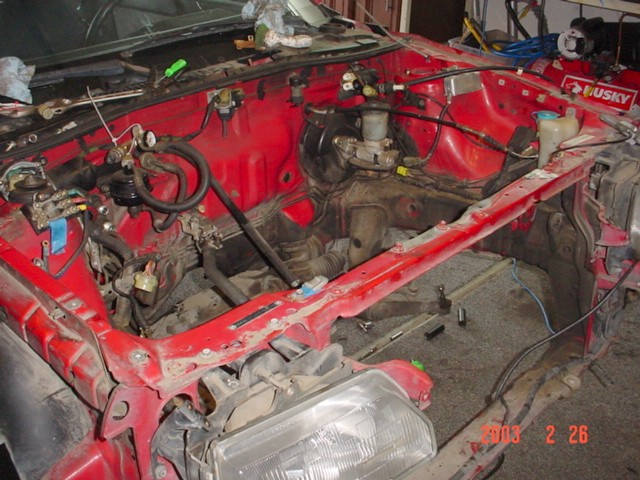
Here's the empty engine bay, ready for the new engine. Before that though, the wiring changes needed to be taken care of. That's part 2 of this chapter.
Back to main