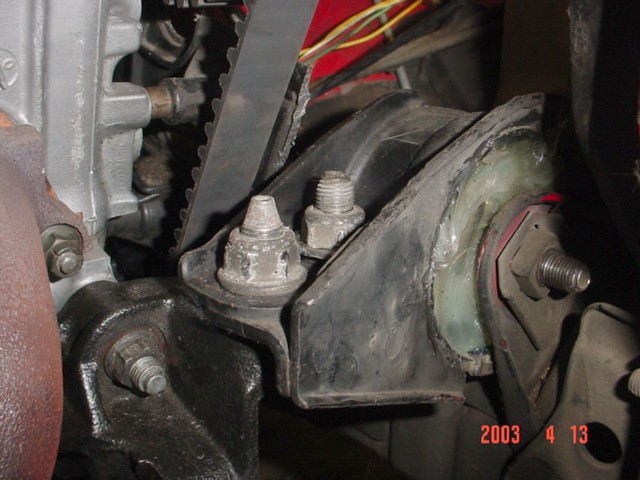
In the above picture, you can see that the engine is sitting too high in the right front (when viewed from the front). I'll have to add some washers to this mount in order to lower it down. I am not sure if the hood will close unless I do this first.
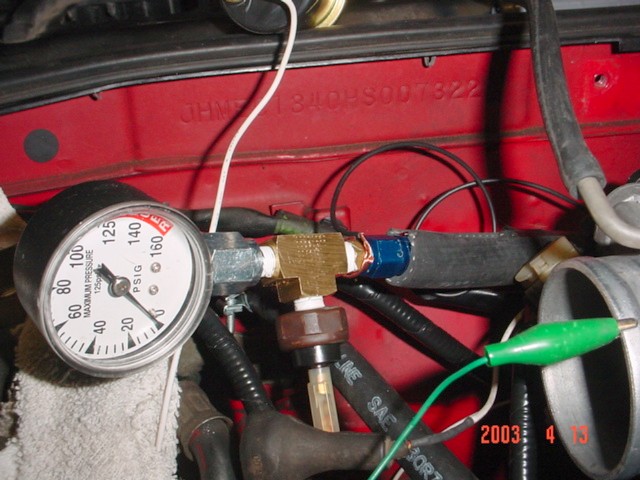
This a picture of the steel braided oil line that installed. It plugs into the spot originally occupied by the oil pressure idiot light. The line runs to this "tee" to feeds the oil pressure idiot light and the oil pressure sender for the Autometer gauge. My first problem was that I did not ground the tee, so the oil pressure idiot light didn't work. My second problem was that the Autometer gauge did not work. I disconnected it and have temporarily replaced it with this mechanical gauge so that I can check on the oil pressure. After I made these changes, I started the engine up again and watched closely. The idiot light went out immediately and the gauge showed 65 psi of pressure at 2000 rpm.
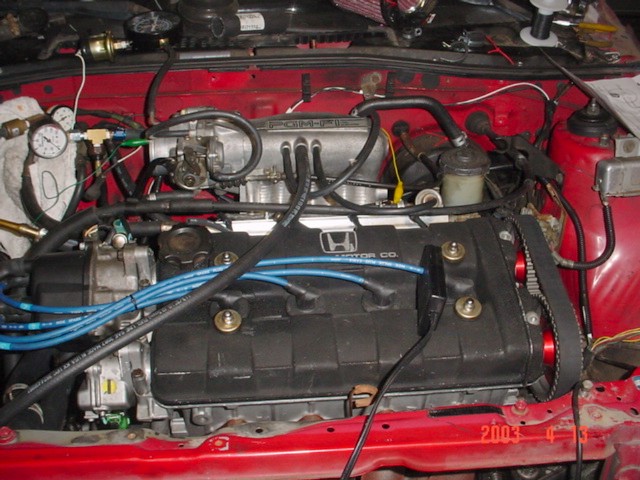
This is my Moroso oil catch can. The oil separator on the back of the block is routed here (inlet is on the side). The top of the catch can contains a big PCV valve that connects to the intake manifold. This setup was previously used on my old supercharged Civic and it did an excellent job.

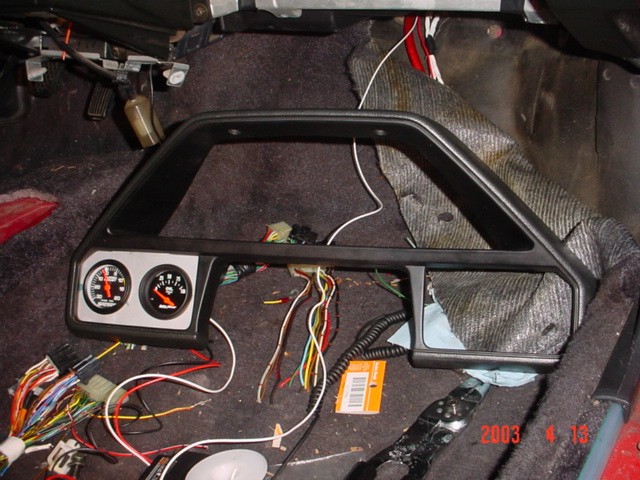
Here is a look at my gauges. I used a .060" thick piece of aluminum plate to make the gauge panel. I'll paint it black to match, but right now, the setup is on the floor in the passenger footwell for access to the oil pressure gauge (which doesn't work...arggh).