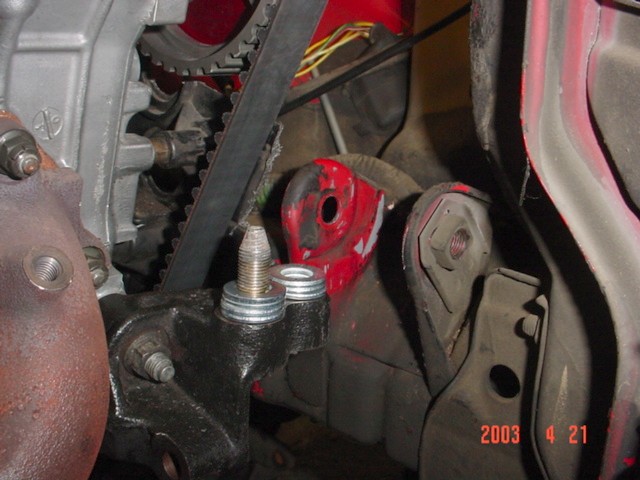
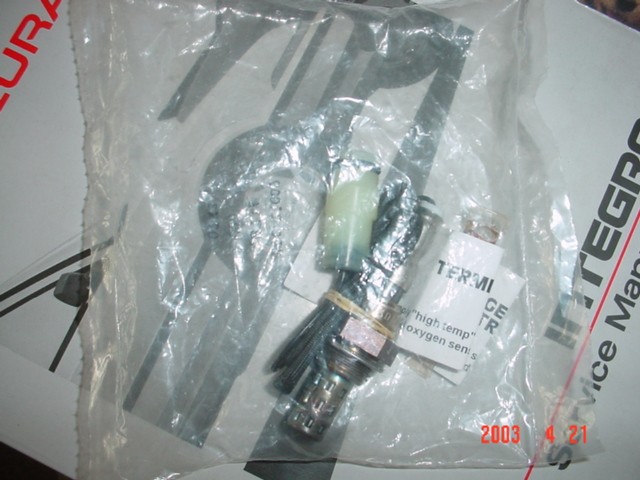
A properly functioning O2 sensor is a must, so I went ahead and bought a new one from oxygensensors.com. There was no telling how old the sensor was in this engine, so I opted to spend the $25 for piece of mind.
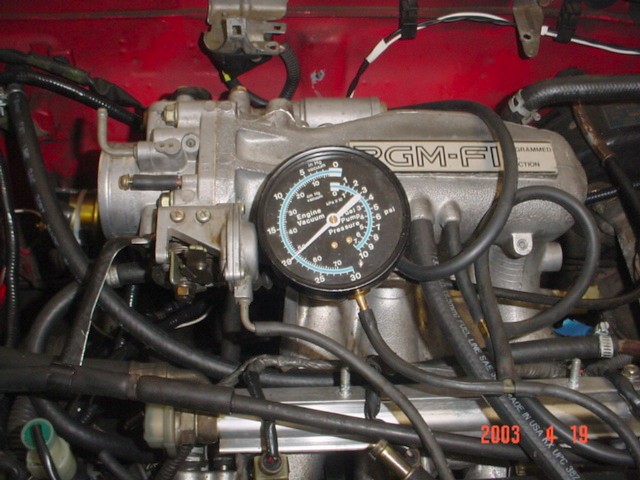
Here's a healthy 20" of vacuum at idle.
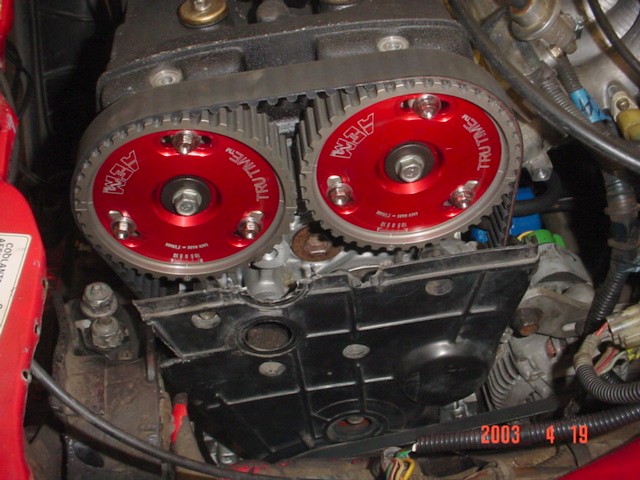
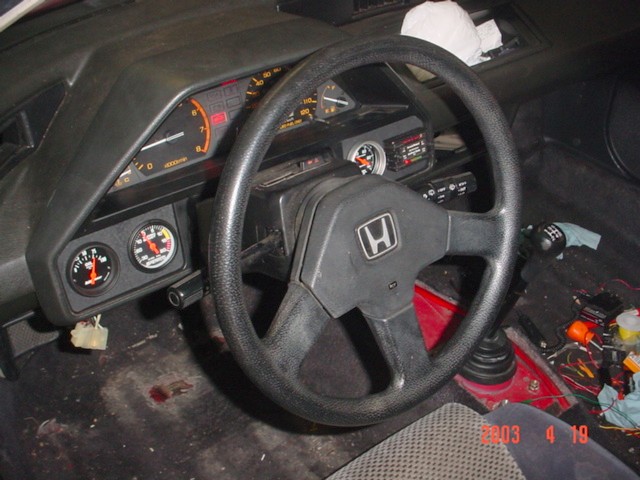
The flash made it look like the gears were not moving, but they actually were. I used this opportunity to set the base ignition timing to the proper spec.
Here is my finished gauge panel. It came out really nice. From left to right: Autometer electric oil pressure gauge, Spearco vacuum/boost gauge, Autometer full-sweep fuel pressure gauge, J&S Safeguard a/f and knock monitor. I had a healthy amount of oil pressure. The vacuum/boost gauge's line got pinched while going through the firewall, so it wasn't working.
My voltmeter showed a healthy 14.3 volts from the battery at idle. It looks like the charging system is working properly. Woohoo!

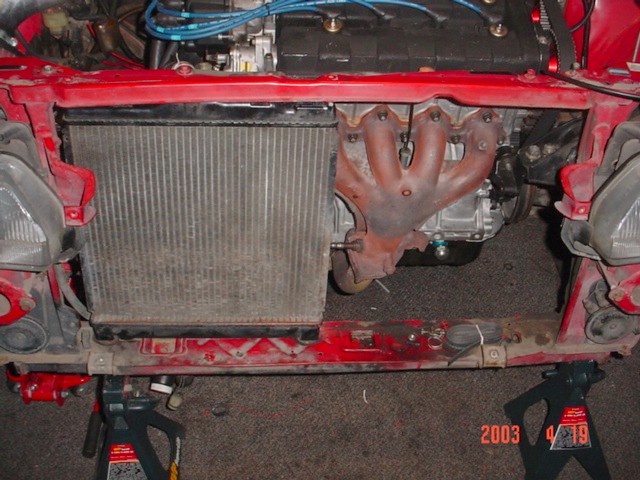
I opted to use the 92 Civic CX's radiator for now. I have a Del Sol twin-core radiator that is twice as thick as this one, but it requires larger hoses. I will probably install the upgraded radiator when I install the turbocharger.
The only things left are the and body panels.